September 30, 2018

Sunday Stamps Challege #188

I am playing along with Sunday Stamps as we bring September to a close.


I used a layer of grey cardstock to give my main panel a frame, I used a corner chomper on my top panel. I created a thin punched strip then used a piece of two-way tape and some perfect pearls to run along the centre. 

I heat embossed the sentiment and added a layer of grey to that as well. Then popped it up with foam tape. I heat embossed and die cut some leaves and flowers and finished with some clear Wink of Stella.


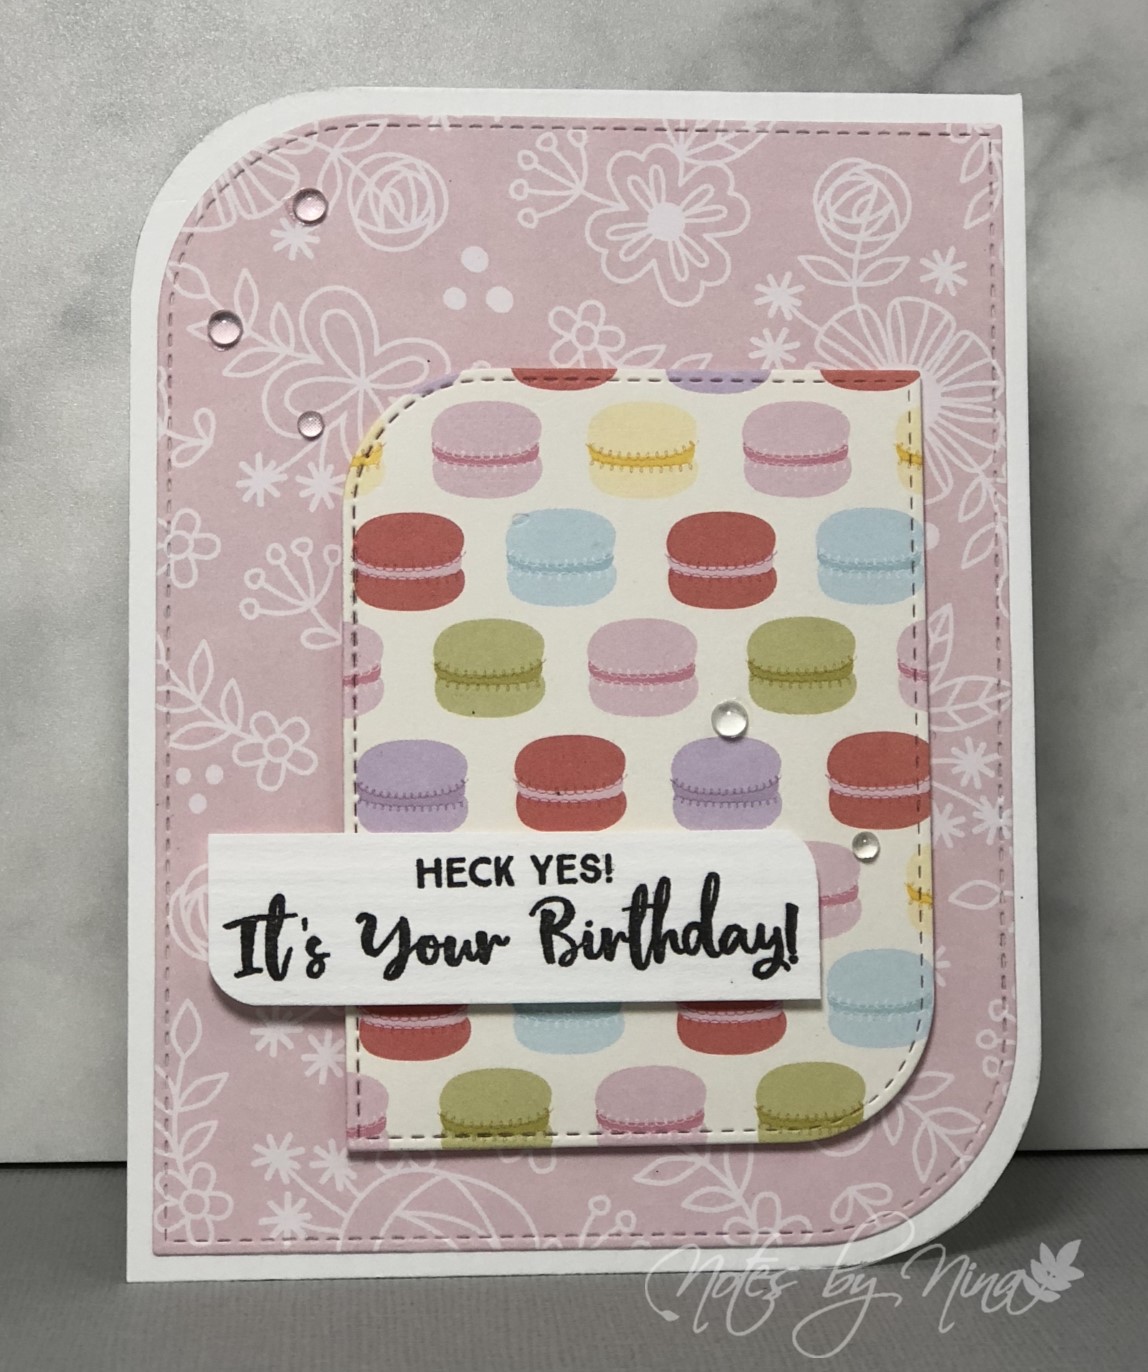
Supplies: White and grey cardstock, Designer Paper - DCWV, Avery Elle - City Celebrations, Altenew - Hello Sunshine stamps and die cut, misc punch.

Cheers,
Nina

September 29, 2018

Heck Yes!

Another quick and simple card for today's post. I used stitched die cuts for the panels then popped the top panel up with foam tape.

I round the edges of the card base and sentiment with a corner chomper. The sentiment is also popped up, I finished with some dew drops.


Supplies: White cardstock, Designer Paper - Pebbles, MTF - stitched  Mod Rectangle, dew drops.

Thanks for stopping by,
Nina

September 28, 2018

Beautiful Day

This simple layout is very quick to reproduce. I cut the DP and popped up both panels with foam tape on a black cardstock matt. 

I added in some white twine for texture, the sentiment is heat embossed in white and also popped up with foam tape.


Supplies: White and Black Cardstock, Designer Paper - DCWV, twine.

Thanks, for stopping by,
Nina

September 27, 2018

Wonderful Birthday

I have a quick and easy to make masculine style card today. I used a couple of pieces from a 6x6 paper pack and added a layer of brown cardstock. I used some stitched die cuts to add a little extra detail.

The sentiment is layered and popped up with foam tape and I finished with some half pearls in various sizes.


Supplies: White and brown cardstock, Designer Paper - Moda Scrap, Penny Black - Sprinkle and Smiles, Dienamics - Stitched Basic edges, half pearls.

Thanks for visiting,
Nina

September 26, 2018

Wrapped in happiness

Another short post today. I love this unique doublesided paper, I figured it needed an interesting layout to showcase it.


I cut the DP on a angle then layered with with black cardstock. I used a small stip of black cardstock to separate the upper and lower panel then popped up the sentiment with foam tape.


I finished with some half pearls.


Supplies: White and black cardstock, Designer Paper - Simple Stories, Penny Black - Sprinkles and Smiles, half pearls.

Have a fantastic day!
Nina

September 25, 2018

Keeping Christmas Inspiration Hop - September


Welcome back for September edition of the Keeping Christmas Series

I used a simple layout, adding a layer of black cardstock to my decorative paper panel then also layered the strip of plaid paper and sentiment as well.  

I stamped and fussy cut the drink cup adding layers of DP for interest. I finished with some black half pearls.

This design is easy to reproduce with an assortment of patterned papers.


Supplies: Kraft and black cardstock, Designer Paper - American Crafts, Penny Black - Joyful Wishes

Be sure to stop by the visit the other blog hop participants to see what they have created.

                           Nance Salkeld                        
                          Nina Forsyth -->You are Here

Thank you for stopping by, 


Nina

September 24, 2018

Christmas in the Air

Good Morning, I have a little holiday cheer for this Monday.

I used an easy layout for the card, adding foam tape behind the panels to pop them up and create dimension. I used black cardstock to create a frame. I added some twine the secured it with a button I created from a circle punch and Nuvo Crystal.

The sentiment is also layered and popped up with foam tape.


Supplies: White and black cardstock, Designer Paper-Echo Park, Hero Art - Poster Christmas Cards, twine.

Thanks for visiting,
Nina

September 23, 2018

Simon Says Stamp Stamptember - Honey Bee

Today I am playing along with the Stamptember exclusive HoneyBee challenge over at Simon Says Stamps.

I started my card by die cutting the panels with SSS stitched rectangles. I added a layer of foam to the top panel then added white gold Gansai Tambi slatter to designer paper. I die cut the smile sentiment from white cardstock also backed with fun foam.

I heat embossed the sentiment on to SSS smoke cardstock and popped it up with foam tape. I heat embossed the bee in black then die cut it. I coloured with watercolour pencil and clear Wink of Stella. I finished with some moonshine sequins.


Supplies: White and gray cardstock, Designer Paper - Moda Scrap, Honeybee - Smile and Free bee, Simon Says Stamp - stitched rectangles, sequins.

Thanks for stopping by,
Nina

Happy Graduation

I made this card back at the beginning of summer but it seems it got lost in the card shuffle and not posted.

I used a simple layout with designer paper on the top and solid blue on the bottom. I have the sentiment strip popped up with foam tape. I used my Silhouette to create the pieces for the grad cap and put it together with foam tape and a brad, the tassel from twine.

I added some texture to the bottom panel and then added black gems to finish.


Supplies: White and blue cardstock,  Designer Paper-Reminisce, SVG Cuts- Graduation cap, Clearly Besotted - Many Mini Messages, brad, twine, gems.

Thanks for stopping by,
Nina

September 22, 2018

Reason to Smile

I used distress inks to create this vibrant background, I added some Cosmic shimmer paste with a stencil to add details. I die cut the Rose frame and popped up the sentiment with foam tape.


Supplies: White and black cardstock, Simon Says Stamp - Rose Flower Frame, Polka Dot Stencil, Cosmic-Shimmer Paste, Forever in Time - Sentiments.

Thanks for visiting,
Nina

September 21, 2018

Fuzzy Socks

I love these too cute papers and the sentiment was a perfect fit. I die cut some leaves and an acorn for embellishments and I popped the acorn up with some foam tape and then added glossy accents. 

The top sentiment is also popped up with some foam tape. I finished with some gems.


Supplies: White cardstock, Designer Paper-Echo Park, Studio Calico - Favorite Things.

Thanks for stopping by,
Nina

September 20, 2018

Rustic VW Van

When I saw this stamp I could not resist going for the aged look for all the layers. I found this fabulous die cut from Sweden that makes the panel that gives the edges a look of old paper.

I inked up all the edges and popped the sentiment up with foam tape. I finished with a metal cog.


Supplies: Cream and brown cardstock, Designer Paper - Kaiser Craft, Gummiapan - Old Paper, Tim Holtz embellishments.


Thanks for stopping by,
Nina

September 19, 2018

Be Brave, Be Happy

A CAS card for today's post. The background is from a single 6x6 paper pad sheet, I stamped and fussy cut the sentiment and popped it up with foam tape. I added some gems to finish.

I love the simple style.


Supplies: White and grey cardstock, Designer Paper - Moda Scrap, Forever in Time - Sentiments.

Thanks for stopping by,
Nina

September 18, 2018

Happy Moments

I love the soft pinks from this designer papers, the patterns made the card so easy to put together. I layered the panels with black cardstock. 

The sentiment is stamped with black ink and layered as well, I also popped it up with foam tape. I finished with some gems.


Supplies: White and black cardstock, Designer Paper - DCWV, Penny Black - Smile today, gems.

Have a great day,
Nina

September 17, 2018

Festive winter

Winter is not far away and dare I say Christmas will not be far behind. Today for my merry Monday post I am going with a wintery feeling card.

I used a simple layout and letting the paper and sentiment do all the work. Each layer is popped up with foam tape then I finished with some clear round dew drops. 


Supplies: White and blue cardstock, Designer Paper - Authentique, Hero Arts - Poster Christmas Cards, dew drops.

Enjoy your day,
Nina

September 16, 2018

MTF Sketch Challenge #402

Mother Nature flipped the switch from summer to fall pretty quickly and it was a perfect morning to create a card as I listened to the rain outside.

I am playing along with the current My Favorite Things sketch challenge.


I die cut the panels from stitched rectangles then added a layer to brown cardstock to each. I know I have stamp sentiments somewhere in my stash that says Feel Better but I could not seem to find them so I used Word and printed one off. 


I popped up the panels with foam tape then finished with the gold leaves and some half pearls.

Supplies: Cream and brown cardstock, Designer Paper - Authentique, Little B - Gold Autumn leaves, half pearls, stitched rectangles.

Thanks for stopping by,
Nina

Beautiful

This was a very quick card to put together. I used a sheet from a 6x6 paper pad and added a layer of grey cardstock that I die cut with a stitched rectangle. 

I stamped the sentiment right on the panel then added some gems to finish.


Supplies: White and grey cardstock, Designer Paper - Moda Scrap, Carta Bella - Just be You, gems.

Thanks for stopping by,
Nina

September 15, 2018

Big Birthday wishes

A big big wonderful shout out to my big sister HAPPY BIRTHDAY BARB. Barb is celebrating a milestone birthday today and I hope the day is over-the-top fabulous. I wish I was celebrating with you sis.

This picture does not do the card justice, I really like the way it turned out. I started with a dark grey layer of cardstock then added a lighter grey layer that I added a pattern too with some distress ink and a stencil. 

I then used a blend of stitched die cuts for the panels, alternating a couple to have foam tape for a 3D effect. I popped up the sentiment then peppered the card with clear dew drops and gems.


Supplies: White and grey cardstock, Designer Paper - My Minds Eye, Penny Black - Smile Today, gems, dew drops.

Have the bestest birthday sis, I hope you get spoiled just like you deserve.

Thanks for stopping by,Nina


September 14, 2018

You're Grate

My My My, this paper is so out of my comfort zone. I but will admit I think the card turned out ok. 

I layered the DP with dark green cardstock, popping up the upper and lower panel while leaving out strip across the lower middle. I die cut the grater twice and popped it and the sentiment up as well. I finished with some Nuvo drops.


Supplies: White and green cardstock, Designer Paper - Moda Scrap, Technique Tuesday - Kitchen Sentiments.

Thank you for stopping by,
Nina

September 13, 2018

Heart Smile

Good morning, thanks for stopping by.  I have a simply designed card today. I die cut the sentiment four times to make it nice and thick then covered it with shimmer from a Zig marker.

I added a layer of brown cardstock to the designer paper panel then finished with some brown nuvo drops.


Supplies: White and brown cardstock, Designer Paper-Bo Bunny, Simon Says Stamp - Heart Smile.

Thanks for visiting,
Nina

September 12, 2018

Happy Birthday

I love this artistic stamp, so many details that stamped beautifully. I added a grey and black cardstock layer to the image and popped the panel up. 

I layered the designer paper panel as well. I layered the sentiment and popped it up with foam tape. I finished the card with black half pearls.


Supplies: White, grey and black cardstock, Designer Paper - The Paper Studio, Pip Art - Wild Inside, Hero Arts - Many Everyday Messages, gems.

Thanks for visiting,
Nina

September 11, 2018

Dream a new Dream

Good Morning, a very short post this morning.

This quick and easy card and it was so simple to make. I layered the piece of designer paper with navy cardstock and stamped the sentiment. I finished with some gems.


Supplies: White and navy cardstock, Designer Paper - Moda Scrap, Penny Black - Smile Today, gems.

Have a wonderful day,
Nina

September 10, 2018

Love and Joy

Let's get a little Merry for our Monday with a holiday card. 

I used a kraft card base this added a black cardstock layer that was embossed with a snowy embossing folder.

I used a mix of stitched die cuts for the panels and heat embossed the sentiment. I added in some twine and half pearls to finish.


Supplies: Kraft and black cardstock, Designer Paper - American Crafts, Penny Black - Believe, twine, gems.

Thanks for visiting,
Nina

September 9, 2018

Cool Days

Cozy socks, cool days and sparkling fires are almost upon us and I love the fall colours too.

I cut a panel of DP then cut it in half and flipping part of it over to use the other side for the strip and layering the panel with brown cardstock. The main panel is popped up with foam tape. 

I added in the same paper behind the leaf circle that is three layers deep. I heat embossed the sentiment and popped it up with foam tape. I finished with some Nuvo drops.


Supplies: White and brown cardstock, Designer Paper - Carta Bella, Memory Box - Modern Leaf Circle, Nuvo Drops.

Thanks for stopping by,
Nina

September 8, 2018

Simple Thank you

When I was on vacation this summer I found a pretty paper pad by DCVW that was all pinks and shimmery rose golds. It had some panels with simple sentiment as well. This card almost made itself.

I layered the panels with a dark grey cardstock. The top panel is popped up with foam tape and I finished with some gems. Unfortunately all the leafy fern designs are a shiny rose gold and did not like the camera. The card is much lighter and prettier in real life.


Supplies: White and grey cardstock, Designer Paper - DCWV, gems.

Thanks for stopping by,
Nina

September 7, 2018

Fun and smile

Have fun and smile today, that should be a morning opener every day in my books.

I added a layer of black cardstock to the panel of DP and a thin strip of cardstock between the two patterns papers. The sentiment is also layered and popped up with foam tape.

I die cut the butterfly in black cardstock and vellum then layered it. I finished with some black gems for the body.


Supplies: White and black cardstock, Designer Paper - Recollections, Penny Black - Smile today, Memory Box - Pip Butterfly, gems.

Thanks for stopping by,
Nina

September 6, 2018

Celebrate

I used another sheet from the Moda Scrap 6x6 paper pack that I think has an artistic feel to it. This page with its pretty feathers and watercolour like marks.

I added a layer of grey cardstock in behind the designer paper. I also added a layer to the sentiment then popped it up with foam tape. I finished with some small few drops.


Supplies: White and grey cardstock, Designer Paper - Moda Scrap, Technique Tuesday- Find Beauty, dew drops.

Have a lovely day,
Nina

September 5, 2018

Happy Birthday

Good Morning, I hope you have a fabulous Tuesday morning. Just a quick post this morning.

I created a quick card using both sides of this double-sided DP, I stamped the sentiment then popped the oval up with foam tape. I added a little colour to the bumblebee and a little shimmer with a Zip marker.

I am not fond of the twine but I had already glued down the oval. I was half looking at a challenge but for some reason ovals always throw me off. I do love the sentiment script though.


Supplies: White cardstock, Designer Paper - My Mind's Eye, CCDesign - , Oval die cut, twine,

Thanks for stopping by,
Nina

September 4, 2018

You inspire me

I have fallen in love with a new designer paper maker Moda Scrap. I ended up making my way through one whole 6x6 paper pads in one sitting, putting together cards that I think look like they were created with of artist paintings. 

I will post them over the coming days.

This is the first one I made, I like the watercolour style flowers. I added black gems to the centres to add a little something extra. I stamped the sentiment then added a black cardstock layer and popped it up with foam tape. Finally, to finish I popped the whole panel up on a piece of thin foam board so that is was above the card base.


Supplies: Cream and black cardstock, Designer Paper - Moda Scrap, Gina K Designs - Inspiring Poppies, gems.

Enjoy your day,
Nina

September 3, 2018

AAA Cards - CAS #123

Good Morning, my sister Barb tempted me into a little crafting this morning and so we played along with the current AAA Cards challenge.

I will admit I may have complicated my CAS card a little but I really like how it turned out.


I went with a standard A2 sized card. I cut the circle with the Woven Circle Ring die cut. I used some distress oxides on watercolour paper for the background and heart. I added some sheer shimmer spritz to the background and the woven ring itself.

I then replaced the centre panel and added the heart which I added some heat embossed script to and popped it up with foam tape. I could not find a sentiment that I was happy with so I printed one off on the computer and also popped it up with foam tape.


I finished by popping up the top panel and adding some crystal gems.

Supplies: White cardstock, Stampabilites- Faded Test Background, Poppy Die cut - Woven Circle Ring, Sizzix - Heart, Frost - Sheer Shimmer, gems.

Have a fabulous day,
Nina

Believe

I am already missing Merry Monday, it is about now that we would have returned from our summer break to resume for the fall. I have been posting a holiday card on Monday's for long enough that it just seems to be a good fit. 

So I am going to try to continue to be Merry on a Monday for a little while longer. After all, I am going to need the holiday cards anyway ;).

I used a simple layout so I could showcase this cute as heck paper, I added a sentiment layer with blue cardstock, same as the other two panels. The sentiment is also popped up with foam tape. I finished with some Nuvo drops.


Supplies: White and blue cardstock, Designer Paper - Moda Scrap, Penny Black - Believe. Nuvo drops.

Have a happy Monday,

Nina

September 2, 2018

That thing you did

I love this sentiment, its simple but unique. My layout is pretty simple too, I added a black layer of cardstock as a mat. I did the same with the smaller panels, also using the backside of this double-sided DP. I used a corner rounder for the edges.

I stamped the sentiment, added a mat then popped it up with some foam tape. I finished with black half pearls.


Supplies: White and black cardstock, Designer Paper - American Crafts,  MTF - Gift Card greetings, half pearls.

Have a great day,
Nina

September 1, 2018

Toad-ally cute

Happy 1st of September everyone, summer, although is lingering, is almost over. Time is flying way way to fast.

I have not had much time in my craft space lately, and it needed much love and care today so I spent time organizing and finally putting together some posts for the cards I made at a crafty gathering earlier this month.

Isn't this little toad the cutest, I could not resist inking it up and making something cute. I did not do a very good job of getting a photo of the card though as it is not quite this dark in real life.

I stamped the image along with the little flies on some light grey patterned paper, they are popped with foam tape and then I added a little shimmer with a Zig. I added Nuvo crystal drops to half pearls for the eyes. I also glossed up the belly. 

The sentiments are heat embossed and popped up with foam tape.


Supplies: White and brown cardstock, Design Paper - Fancy Pants, Your Next Stamp & die - Froggie Friend.

Thanks for visiting,
Nina